Here’s a great idea for that big, empty wall in your house that would be perfect for a huge piece of art–especially if you can’t afford a huge piece of art.
Time investment: 15-20 minutes
Cost: Approximately $12
SUPPLIES
1. Roofing nails in the color of your choice
2. Some sort of string, twine, or yarn
3. Hammer
4. Scissors
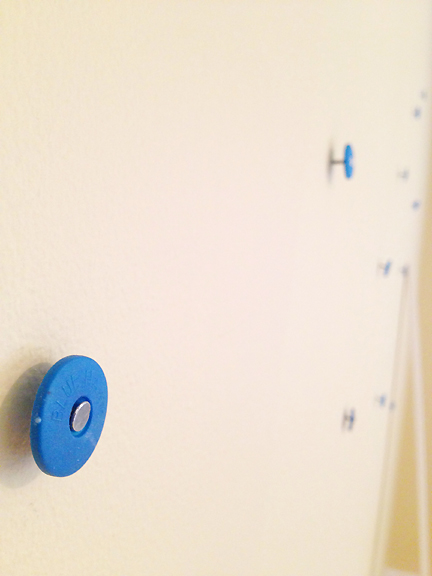
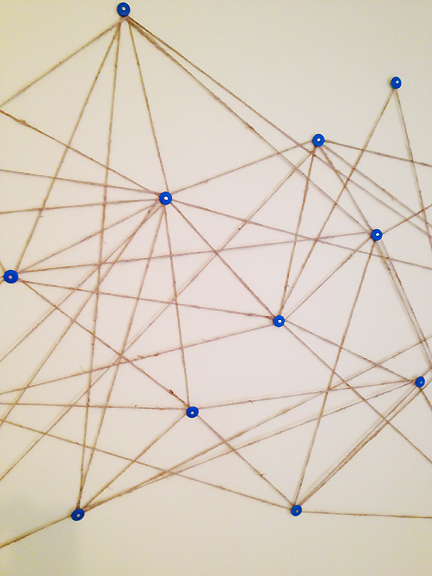
In case you’ve never been up-close and personal with roofing nails, they come with plastic disks behind the heads, like this:
They’re typically available in orange, but we also saw them in blue and green. We chose the blue because it coordinated with the headboard in this room. We used twine for our project because we wanted a natural element. You could do some interesting things with colorful string if you need more pop.
INSTRUCTIONS
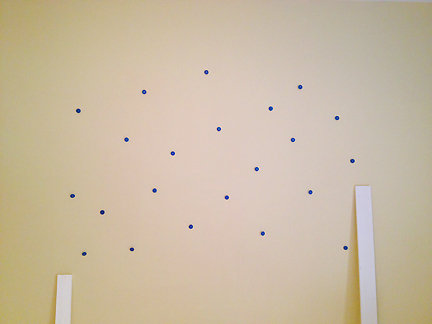
1. The first thing you’ll need to do is mark off the borders of where you want your art to stretch. You can use painter’s tape if you have it, but we had these boards lying around and just propped them against the wall where we wanted our left and right borders to be. Then just start hammering your roofing nails into the wall, leaving the heads sticking out away from the wall about half an inch. (See photo above.) Don’t worry about what pattern you’re creating with the nails–the more random the better, until you get a cluster similar to this:
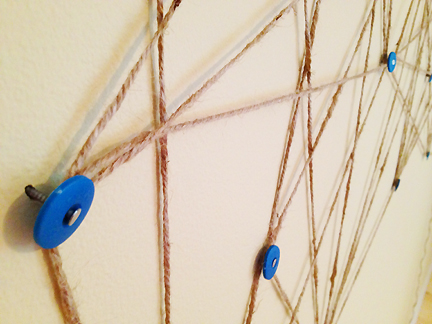
2. Tie one end of your string around one of your roofing nails, leaving a little bit of string dangling. It doesn’t really matter which one. I started on the far right bottom, just in case I couldn’t hide my knot. Then start wrapping the twine around the heads of your roofing nails, crossing up and down, back and forth. You seriously can’t mess this up–just relax and have fun with it.
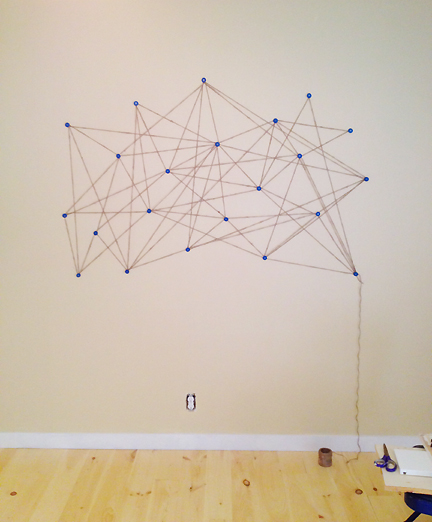
3. Wrap your string throughout your nail cluster, stepping back now and then to see if you want to add more string to any part of your arrangement. When you’re about done, start working the string back to the nail where you made your original knot. Using the short piece of string that you left dangling, tie another knot to finish the piece.
4. Using your scissors, cut the ends of the string, leaving the knot concealed behind the colorful disk of the roofing nail.
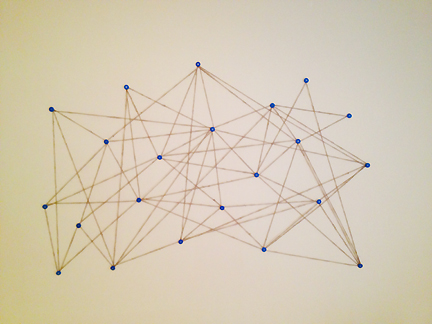
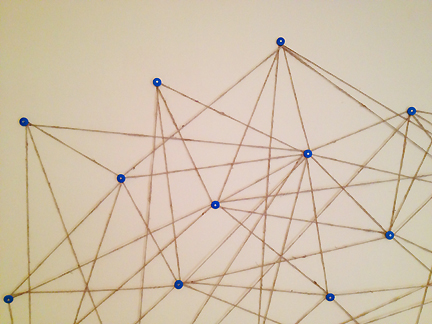
The result is a constellation-like art installation that offers endless compositions.
This was perfect way for us to create some interest with very little money in one of the bedrooms of a home staging project. I’m so happy with the way it turned out (and the low price and time investment) that I want to string art EVERYTHING. I can see this being a cool way to create a starburst over a fireplace, jazz up a teenager’s bedroom, or perk up a kid’s ceiling. And what if you used this type of twine but then came in with fluorescent string tied between just two nails? The possibilities are endless.


I can see doing this in a kid room and then clipping photos or kid art to the strings to use it for display.